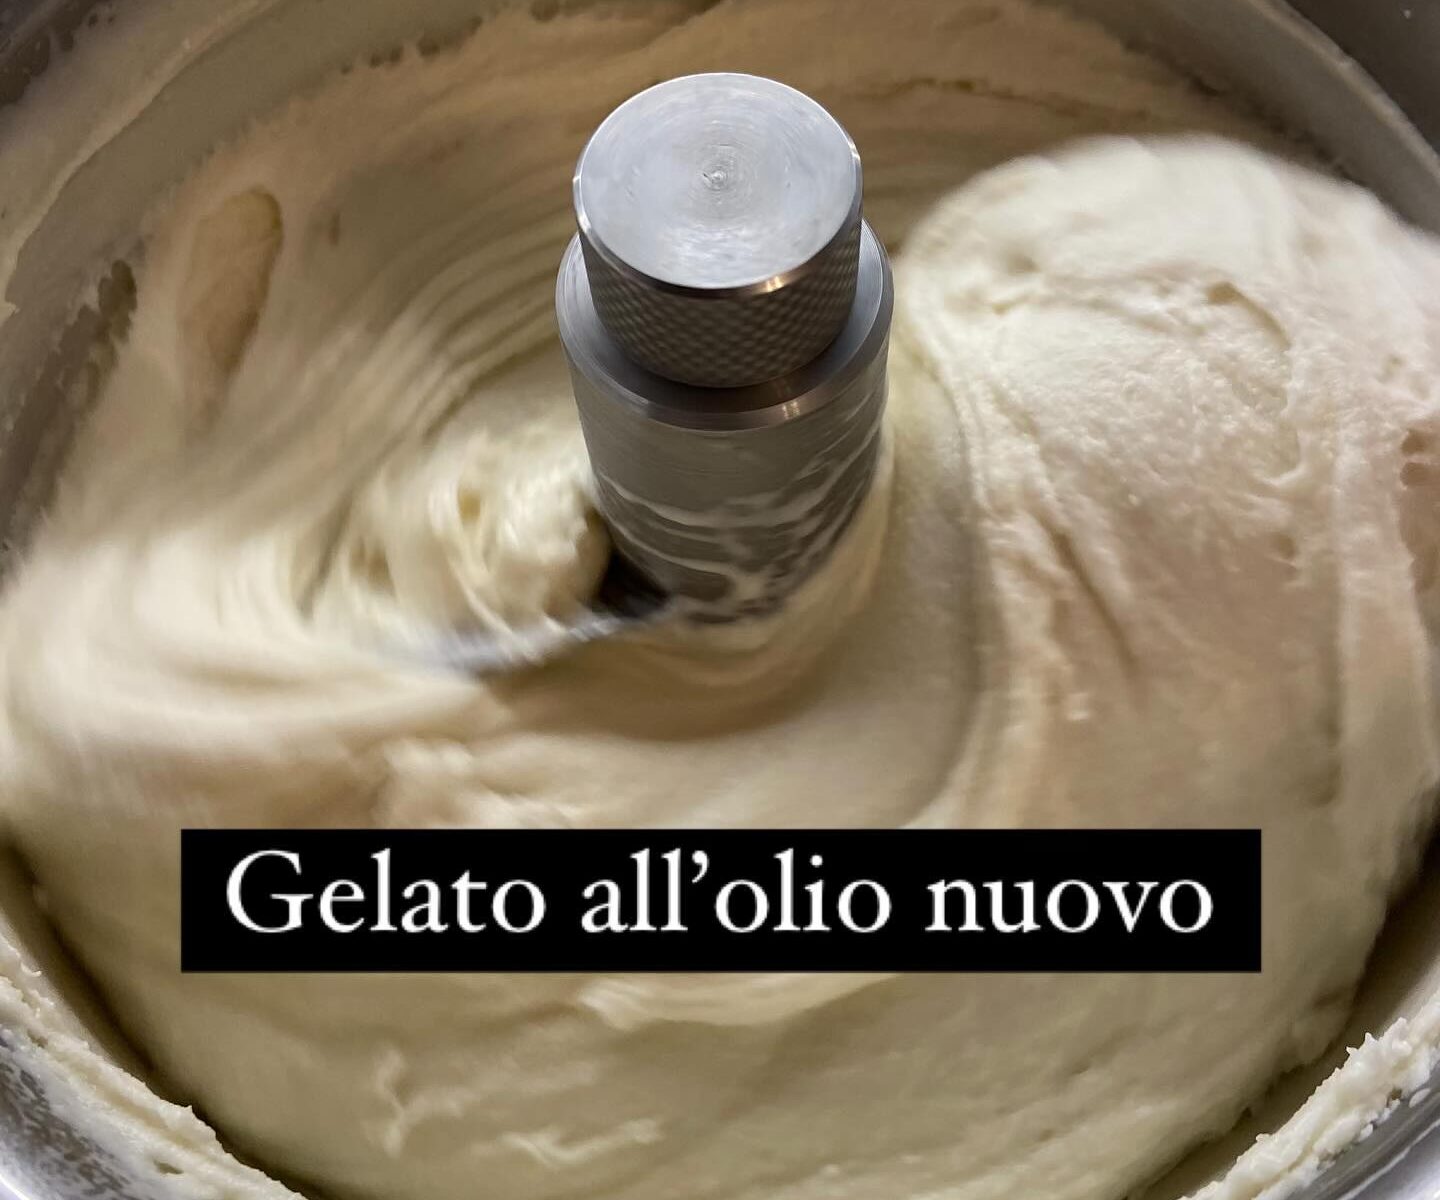
I am not a fan of sorbets (and not a fan of fruit in general, I must admit). A friend asked me to make a couple of gelatos (she is not a fan of sorbets either) so I complied. I loved the results!
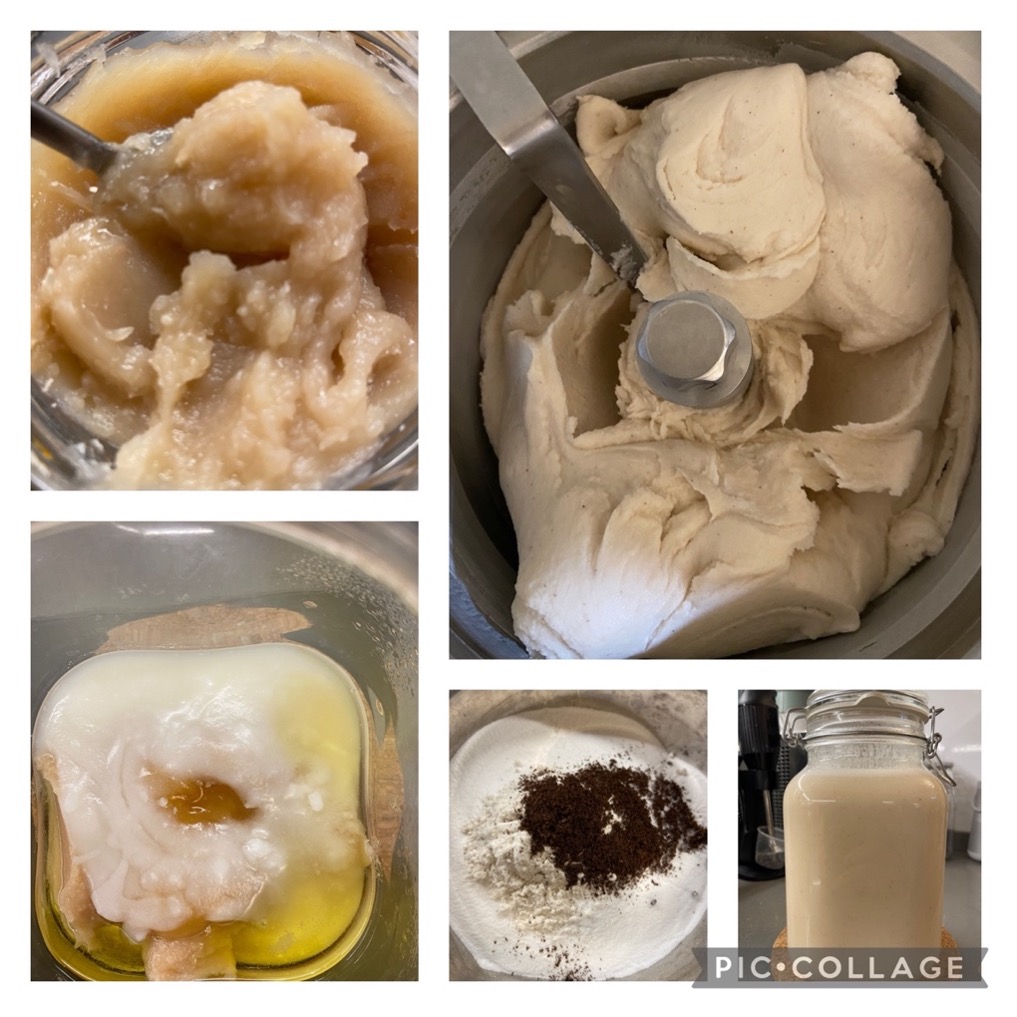
I used fresh fruit juice and zest, and frozen strawberries which I thawed and very briefly brought to a boil in the microwave for safety reasons (berries carry a hepatitis A risk).
For the lemon, I ground the zest in part of the recipe sugar, but except for this detail, the recipes are prepared in the same way: mix the solids (sugars, fibers – inulin and acacia – stabilisers – tara:xanthan 9:1) and dissolve them in the soy milk, bringing the solution to 45°C, then add the cashew butter and coconut oil. Blend super well and chill the mix in the fridge. When it has chilled completely, add the lemon juice to one recipe and the strawberries to the other, and churn.
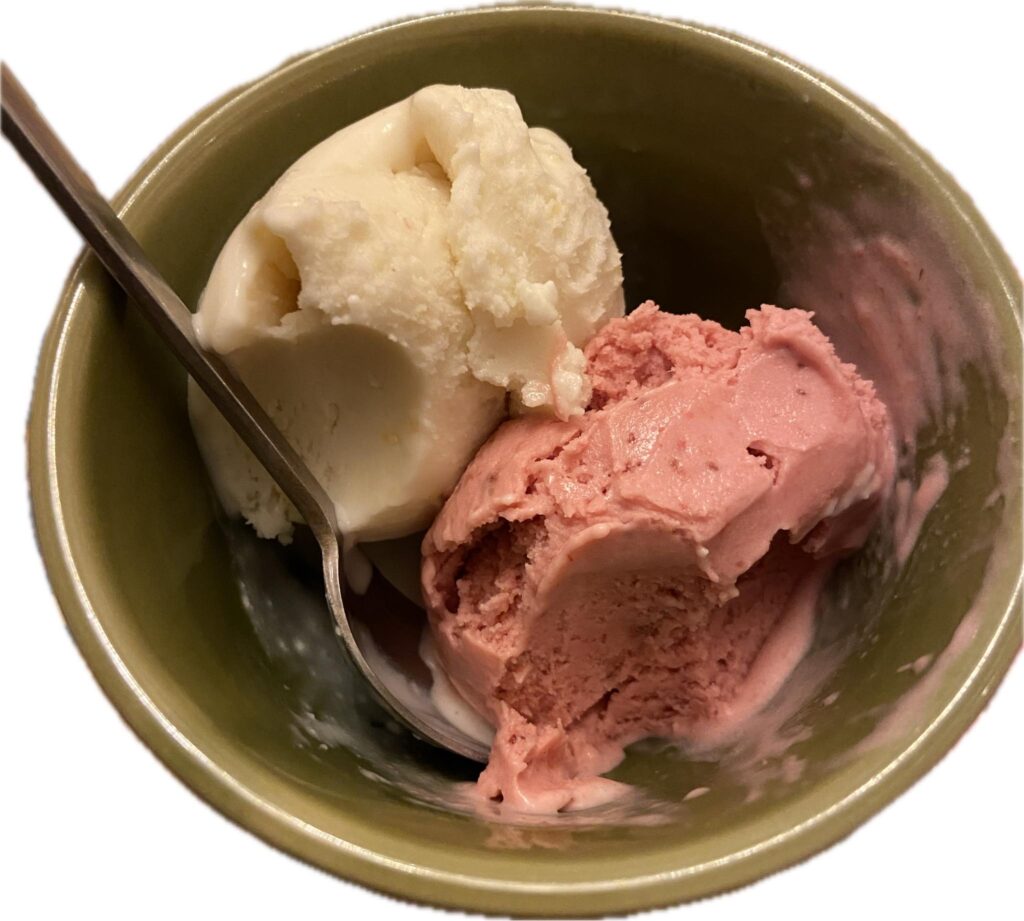
For the lemon recipe (total 750 grams of mix) I used:
soy milk 45% 337g
sucrose 11% 86g
vegetable fibers (inulin+acacia) 5% 37g
refined coconut oil 6% 48g
cashew butter/cashews 6% 48g
dextrose 4% 33g
stabiliser (tara+xanthan) 0,1% 1,1g
lemon juice 20% 150g
lemon zest 1.5% 11g
For the strawberry recips (total 750 grams of mix) I used:
strawberries 47% 356g
soy milk 21% 159g
sucrose 8% 64g
vegetable fibers (inulin+acacia) 8% 57g
refined coconut oil 7% 51g
cashew butter/cashews 5% 41g
dextrose 3% 22g
stabiliser (tara+xanthan) 0.1% 1,0g
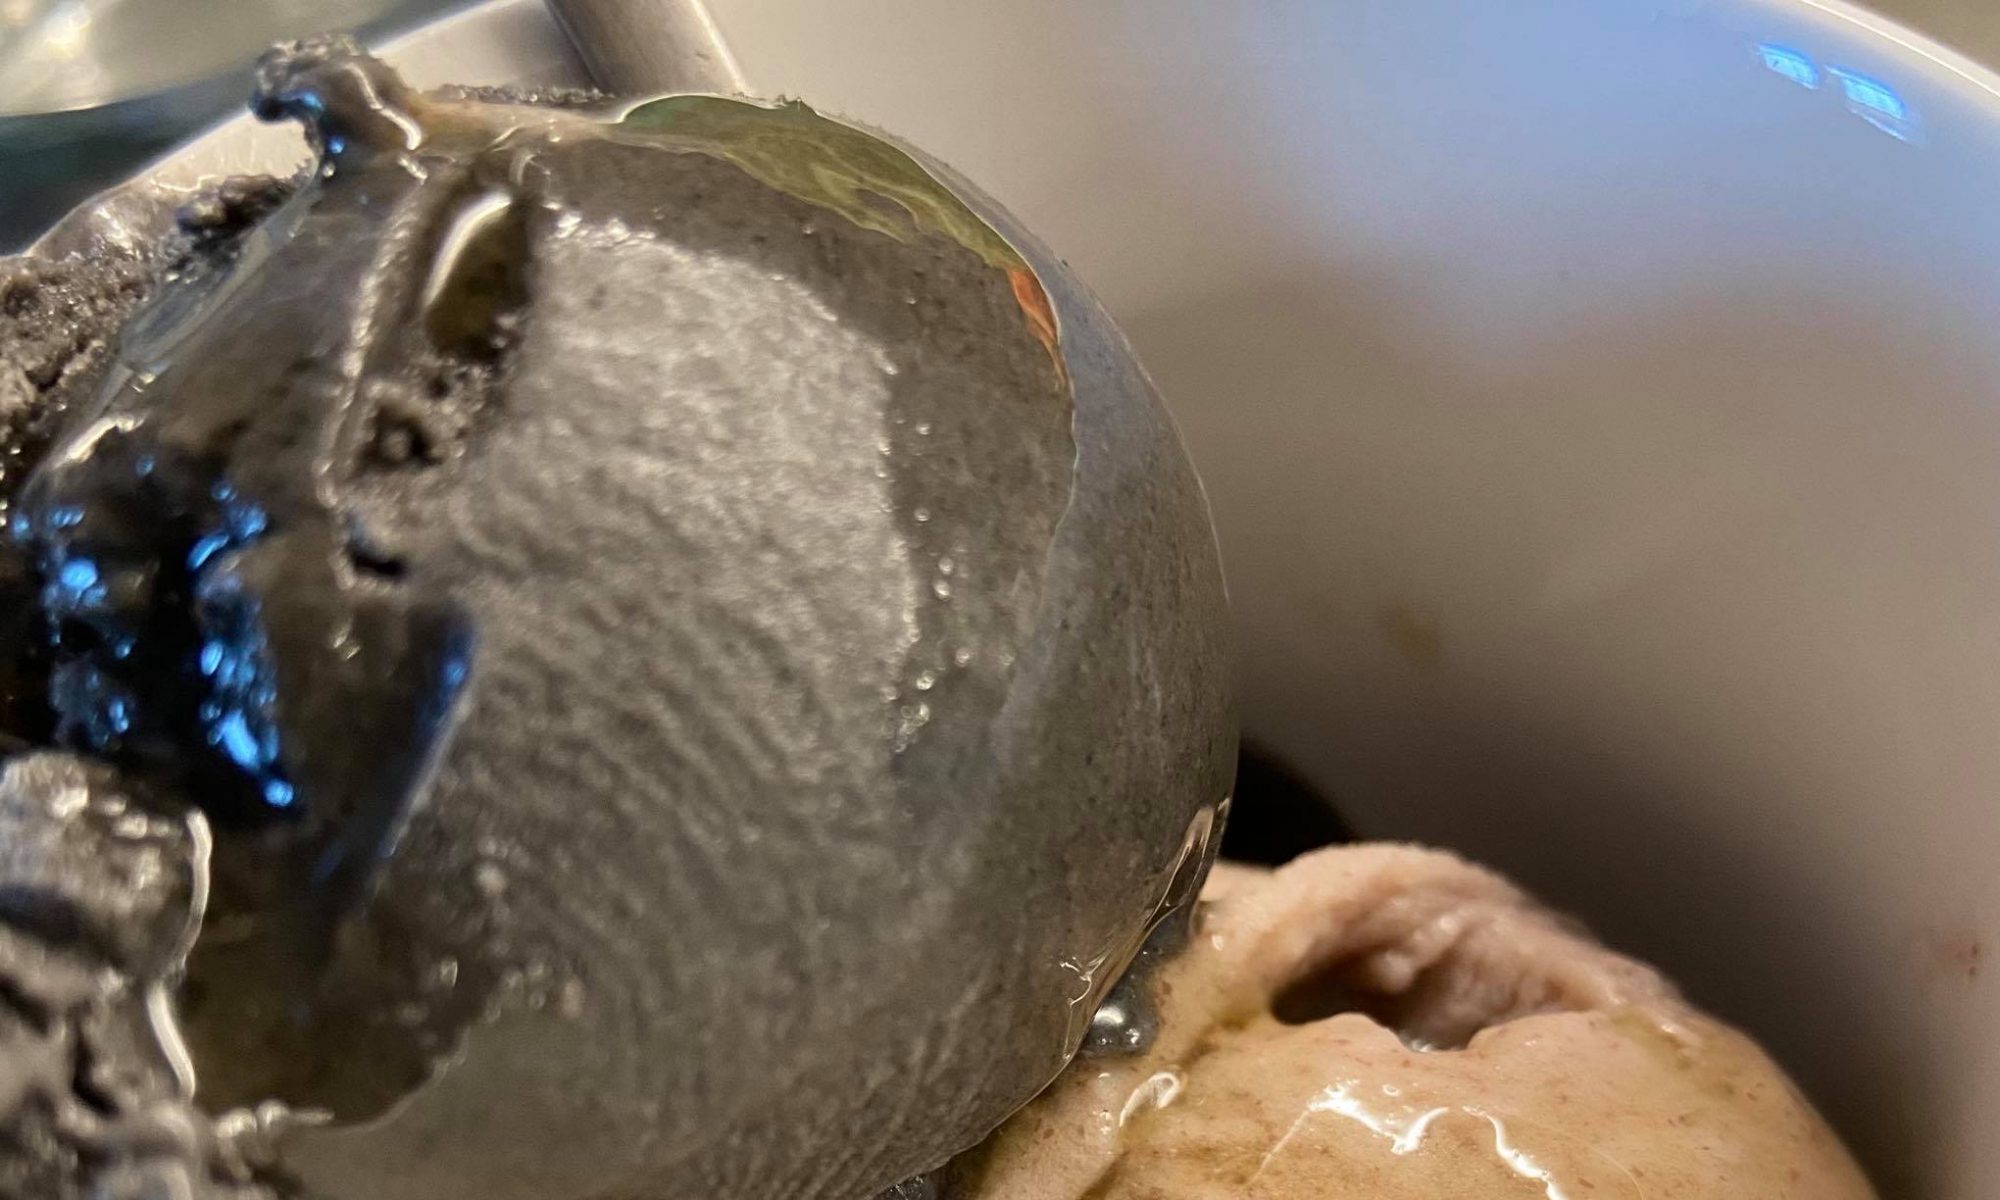
As for all my recipes, I prefer a richer style (i.e. higher fats compared to the average Italian style gelato) and a stiffer texture which I achieve using less sugar and vegetable fibers. This ice cream will freeze harder in a normal -18°C feezer so either you take it out earlier, or replace the fibers with more sugars increasing the amount of sucrose and dextrose by the same amount.
If you want to learn the science behind ice cram, vegan or not, please contact me about my Introduction to the Science of Ice Cream course!