Oleogels in ice cream

The other day I was reading a paper about the use of oleogels in ice cream. Essentially, some molecules can be mixed with low-temperature-freezing fats to make them thicker and therefore more suitable for ice cream, where fat crystals play a very important role in the stabilisation of air. If the fat remains liquid at low temperatures, its network collapses and becomes way less efficient in keep the ice cream structure up. All stuff that I explain in great detail in my ‘Introduction to (vegan) ice cream’ course, in case you are interested :-).

The article mentioned beeswax as one of the possible ‘gelators’ – I know we are out of the vegan ice cream realm, but I happen to have a beehive and collect some honey when the bees make a lot and keep the opercles (the cell lids). Over the years, I collected a block of wax in the cupboard that I have used to make hand cream and candles.

A vegan alternative can be carnauba wax which is sourced from plants. I will definitely try it next. There is some literature already published.

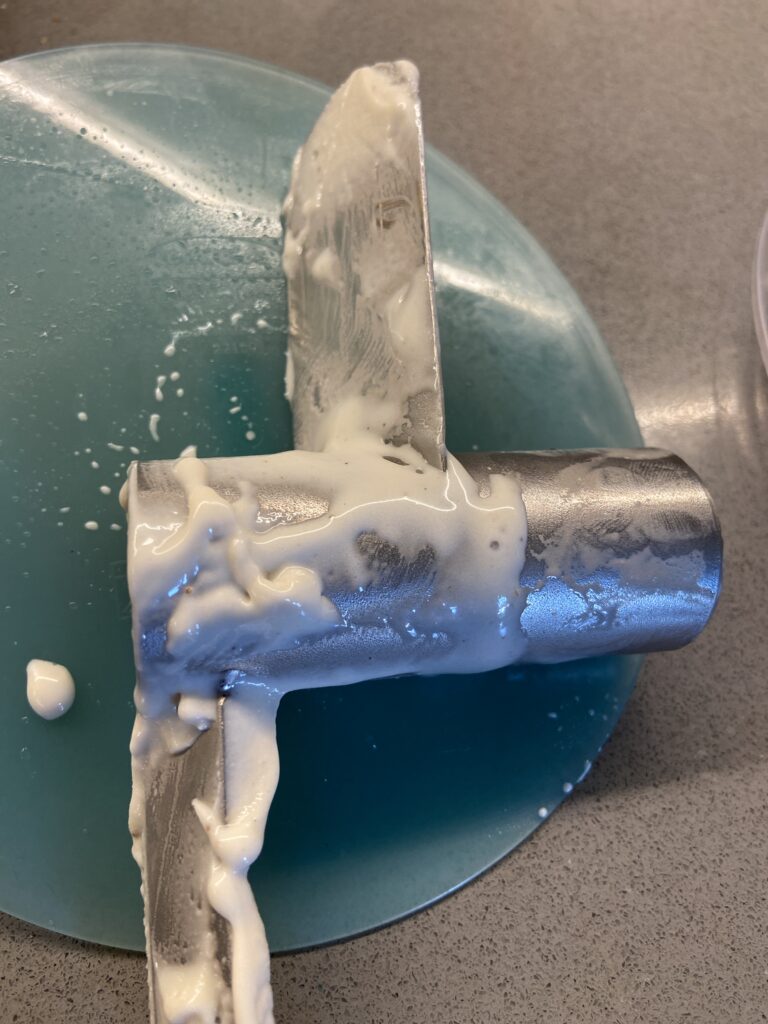
To prepare the oleogel, I heated some olive oil in a bain marie and fully dissolved beeswax in it, stirring well. The oily mixture contained 7% beeswax. I left the mix cool down to a lip balm texture and then used in in place of the coconut oil in my standard white base (for example, the one I published recently). I used refined olive oil to avoid covering any off-flavours but this method opens up the option to use different cultivars of extra-virgin olive oil.

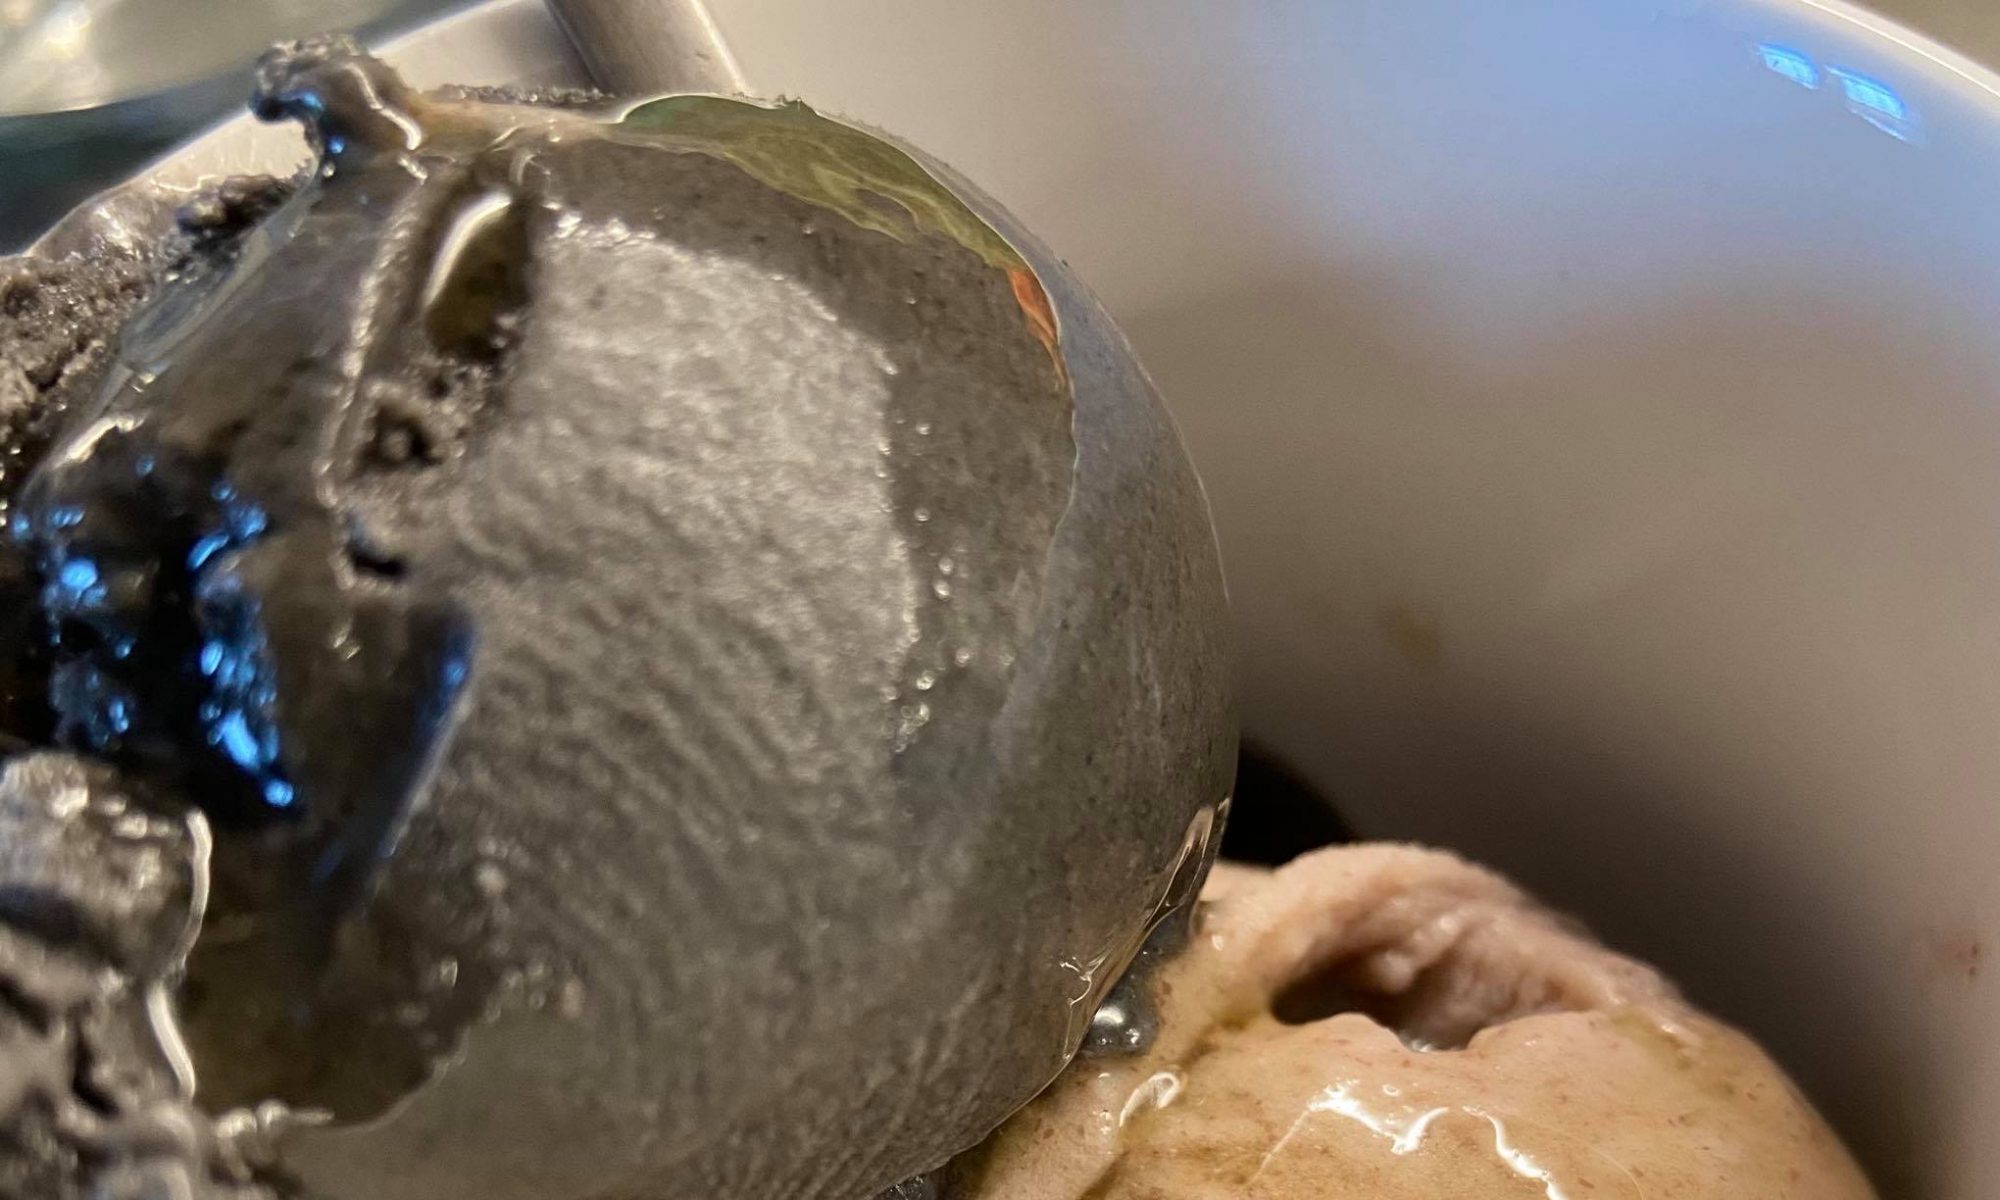
The mix looked very nice and smooth, it cooled to a viscous cream – as I was expecting, and it churned beautifully. And what is important, it has a really nice flavour.

It also melts well, homogeneously so it really looks nice and promising for more experiments.

I am very pleased with the results so far. Now I can use local oil for a variety of interestingly flavoured ice creams, feel a bit less guilty about deforestation and of course have an answer for those people arguing that coconut oil and saturated fats are bad for me. Hooray!

La Scienza in Cucina – Capire per Creare

Il corso nasce dalla mia conoscenza della materia chimica combinata alla passione per la cucina e si prefigge di stimolare la creatività in cucina attraverso una maggiore comprensione e un approccio sistematico alla materia culinaria.

È nato quando ho adottato una dieta a base vegetale e mi sono trovata a rivoluzionare il mio approccio, fino ad allora basato in gran parte su derivati animali.

Capire che olio scegliere per friggere, perché far riposare l’arrosto (o il seitan!), che amido scegliere per preparazioni diverse, perché è possibile spegnere il fuoco dopo aver buttato la pasta 😉, che ruolo hanno pomodori e funghi secchi in una preparazione, perché il pane diventa duro… Le risposte le troviamo nella conoscenza degli ingredienti.

Si parte da basi teoriche per addentrarsi via via nell’aspetto applicativo, fornendo conoscenze utili non solo a chi vuole occuparsi di cucina “senza”, ma a chiunque abbia interesse a capire meglio cosa succede nel tegame.

Il corso è online (piattaforma Zoom) ma non è pre-registrato. Io credo fortemente nell’interazione diretta, che apre allo scambio, alla discussione, al mutuo arricchirsi tramite domande e dubbi.

Tre lezioni teoriche di circa tre ore l’una:

– La struttura chimico-fisica dei macro-alimenti e delle fibre: non solo l’aspetto nutrizionale di proteine, grassi o carboidrati ma la loro struttura e, di conseguenza, le loro proprietà. Gli amino acidi, gli acidi grassi, gli zuccheri hanno strutture completamente diverse e dalla loro diversità derivano le proprietà delle molecole complesse che costituiscono il nostro cibo.

– Il comportamento dei macro-alimenti in campo alimentare e le loro proprietà organolettiche, caratteristiche la cui conoscenza ci permette di trasformare – per esempio – una maionese o una pasta frolla tradizionale nei loro equivalenti a base vegetale; la conoscenza più approfondita della struttura degli alimenti ci permette di capire come sostituire il burro in una preparazione vegetale, quale amido è più indicato per addensare una crema, e molto altro. Si comprenderà per esempio l’effetto dell’acido nella preparazione delle meringhe, come mantenere vivo il colore di un’erba aromatica, perché il bicarbonato è più utile dello zucchero nella preparazione della salsa del pomodoro, l’uso delle fibre oltre la nutrizione.

– Nell’ultima parte del corso si analizzano esempi concreti e pratici di preparazioni culinarie, oltre a come sostituire gli ingredienti di origine animale con ingredienti a base vegetale, mantenendo le caratteristiche organolettiche cui una tradizione culinaria a base di carne, uova e latticini ci ha abituato. Si comprende come può nascere un impasto senza glutine e come, invece, utilizzarlo per sostituire la carne. Vedremo inoltre come e perché preparare a casa alcuni ingredienti base della cucina a base vegetale.

Infine, i quattro gusti fondamentali ci permettono di creare piatti appetitosi ma la conoscenza del “quinto gusto”, la sapidità o umami, non è facilmente replicabile in preparazioni vegetali. La scomposizione di questo sapore nei suoi elementi fondamentali ci permette di “ricostruirlo” e quindi di replicare, anche se non completamente, questo componente organolettico fondamentale.

Parleremo anche di oleogustus, e del suo importante ruolo evolutivo.

Il corso è di ovvio interesse per chi sta meditando una transizione ad una dieta a base vegetale, ma ogni cuoco sarà stimolato nella propria creatività a soddisfare qualunque esigenza.

Le spiegazioni sono tecniche e dettagliate ma non richiedono una conoscenza precedente della scienza chimica, per permettere a tutti di fruire del corso (e potete interrompermi in ogni momento se qualcosa non è chiaro!).

Contattatemi per le prossime date!

Costo: 150 Eur pagabile tramite bonifico per le date fisse. È possibile organizzare il corso in orari diversi ad un costo leggermente superiore (180 Eur)

Per iscrizioni e maggiori informazioni, contattatemi per email (thecraftsycat@gmail.com)

Carrot and Coriander

A friend asked me to make this flavour after watching a TV program where the presenter made this gelato on a trip to Italy. It’s an unusual flavour – I love it in soups, we make it regularly during Winter, but I did not think of it in a sweet version.

Anyway, here it is. I cooked the carrots in the recipe coconut oil – I used a ‘microwave pressure cooking’ method using Weck jars secured with 4 clips. In order to use this method, you first need to find the correct power to use in your microwave – you will need to select the power at which water boils in about 3′ (https://ask.usda.gov/s/article/how-do-you-determine-the-wattage-of-your-microwave-oven). If you are not familiar with this method, please use your favourite cooking method.

The recipe is water-based, and I used cashews to increase solids and fats.

Ingredient%
Water56
Carrots (raw weight)11
Sucrose10
Cashew butter7
Coconut oil6
Dextrose5
Vegetable fibers (inulin for example)4%
Stabilisers of your choice – I generally use a mix of tara/guar and xanthan gums at 3g/Kg of mix

I weighed all the solids (sugars, fibers and stabilisers), mixed them, added warm water (ca 50°C, blended well, and finally the cashew butter and the oil-cooked carrots. I blended well, then left the mix to rest in the fridge overnight before churning.

I used ca 1g of ground coriander seeds per Kg of mix – this amount will depend on the quality and age of the coriander you use, so the amount is just an indication. Keep in mind that its flavour will continue to develop and that it will not be muted by the cold temperature.

I apologise for the poor picture quality – but the gelato was beautiful!

Note – my ice creams are designed to be consumed immediately or kept in a somewhat warmer freezer (-10°C). If you wish to store them at the normal -18°C freezer temperature, they will become harder than usual (most ice creams will go hard in a deep freezer, it’s normal, nothing wrong with it!). To limit this inconvenience, you can bring the percentage of sugars (sucrose and dextrose) up to a total of approximately 22% keeping the same sucrose/dextrose ratio and decrease the liquid or the fibers to keep the same mixture total weight.

Hello!

After posting so many recipes on facebook, I have decided to create a website. I will move some of my favourite recipes here, and probably keep using facebook as a sort of journal… I still have to decide on the best format!