Oleogels in ice cream

The other day I was reading a paper about the use of oleogels in ice cream. Essentially, some molecules can be mixed with low-temperature-freezing fats to make them thicker and therefore more suitable for ice cream, where fat crystals play a very important role in the stabilisation of air. If the fat remains liquid at low temperatures, its network collapses and becomes way less efficient in keep the ice cream structure up. All stuff that I explain in great detail in my ‘Introduction to (vegan) ice cream’ course, in case you are interested :-).

The article mentioned beeswax as one of the possible ‘gelators’ – I know we are out of the vegan ice cream realm, but I happen to have a beehive and collect some honey when the bees make a lot and keep the opercles (the cell lids). Over the years, I collected a block of wax in the cupboard that I have used to make hand cream and candles.

A vegan alternative can be carnauba wax which is sourced from plants. I will definitely try it next. There is some literature already published.
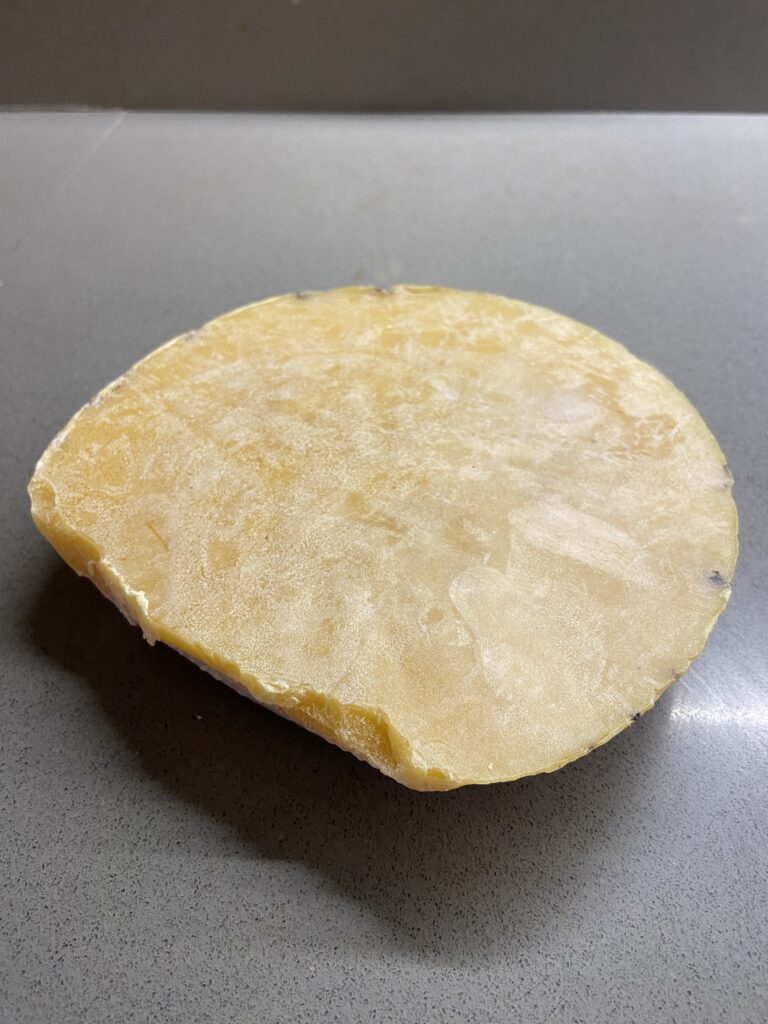
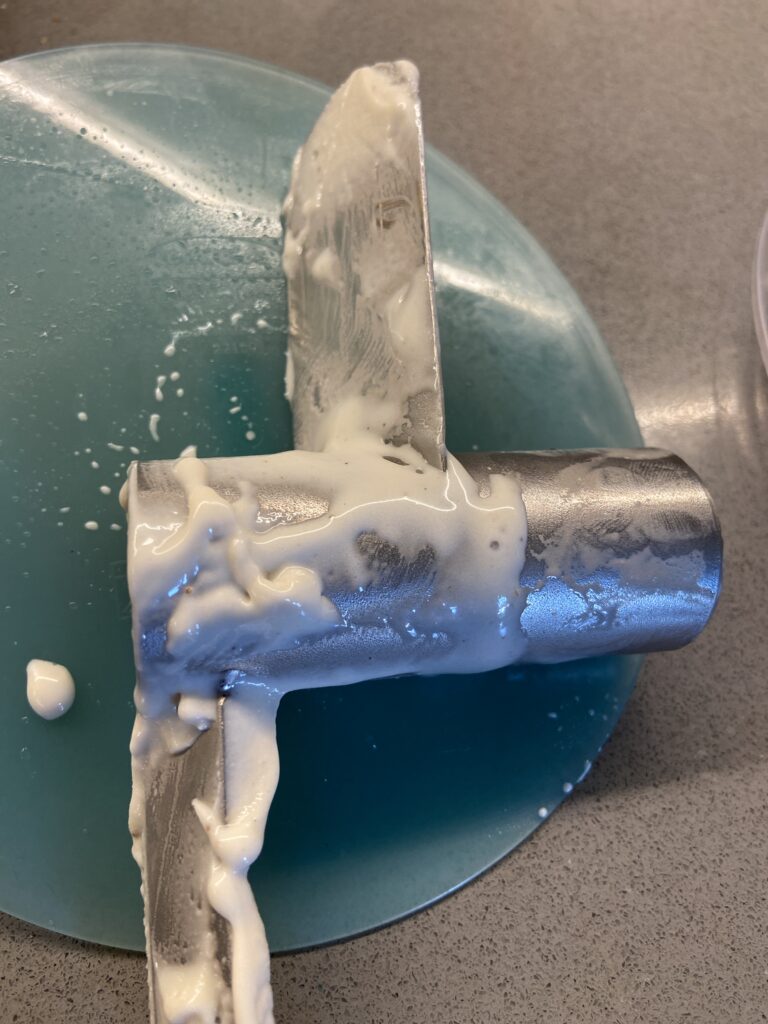
To prepare the oleogel, I heated some olive oil in a bain marie and fully dissolved beeswax in it, stirring well. The oily mixture contained 7% beeswax. I left the mix cool down to a lip balm texture and then used in in place of the coconut oil in my standard white base (for example, the one I published recently). I used refined olive oil to avoid covering any off-flavours but this method opens up the option to use different cultivars of extra-virgin olive oil.

The mix looked very nice and smooth, it cooled to a viscous cream – as I was expecting, and it churned beautifully. And what is important, it has a really nice flavour.

It also melts well, homogeneously so it really looks nice and promising for more experiments.
I am very pleased with the results so far. Now I can use local oil for a variety of interestingly flavoured ice creams, feel a bit less guilty about deforestation and of course have an answer for those people arguing that coconut oil and saturated fats are bad for me. Hooray!
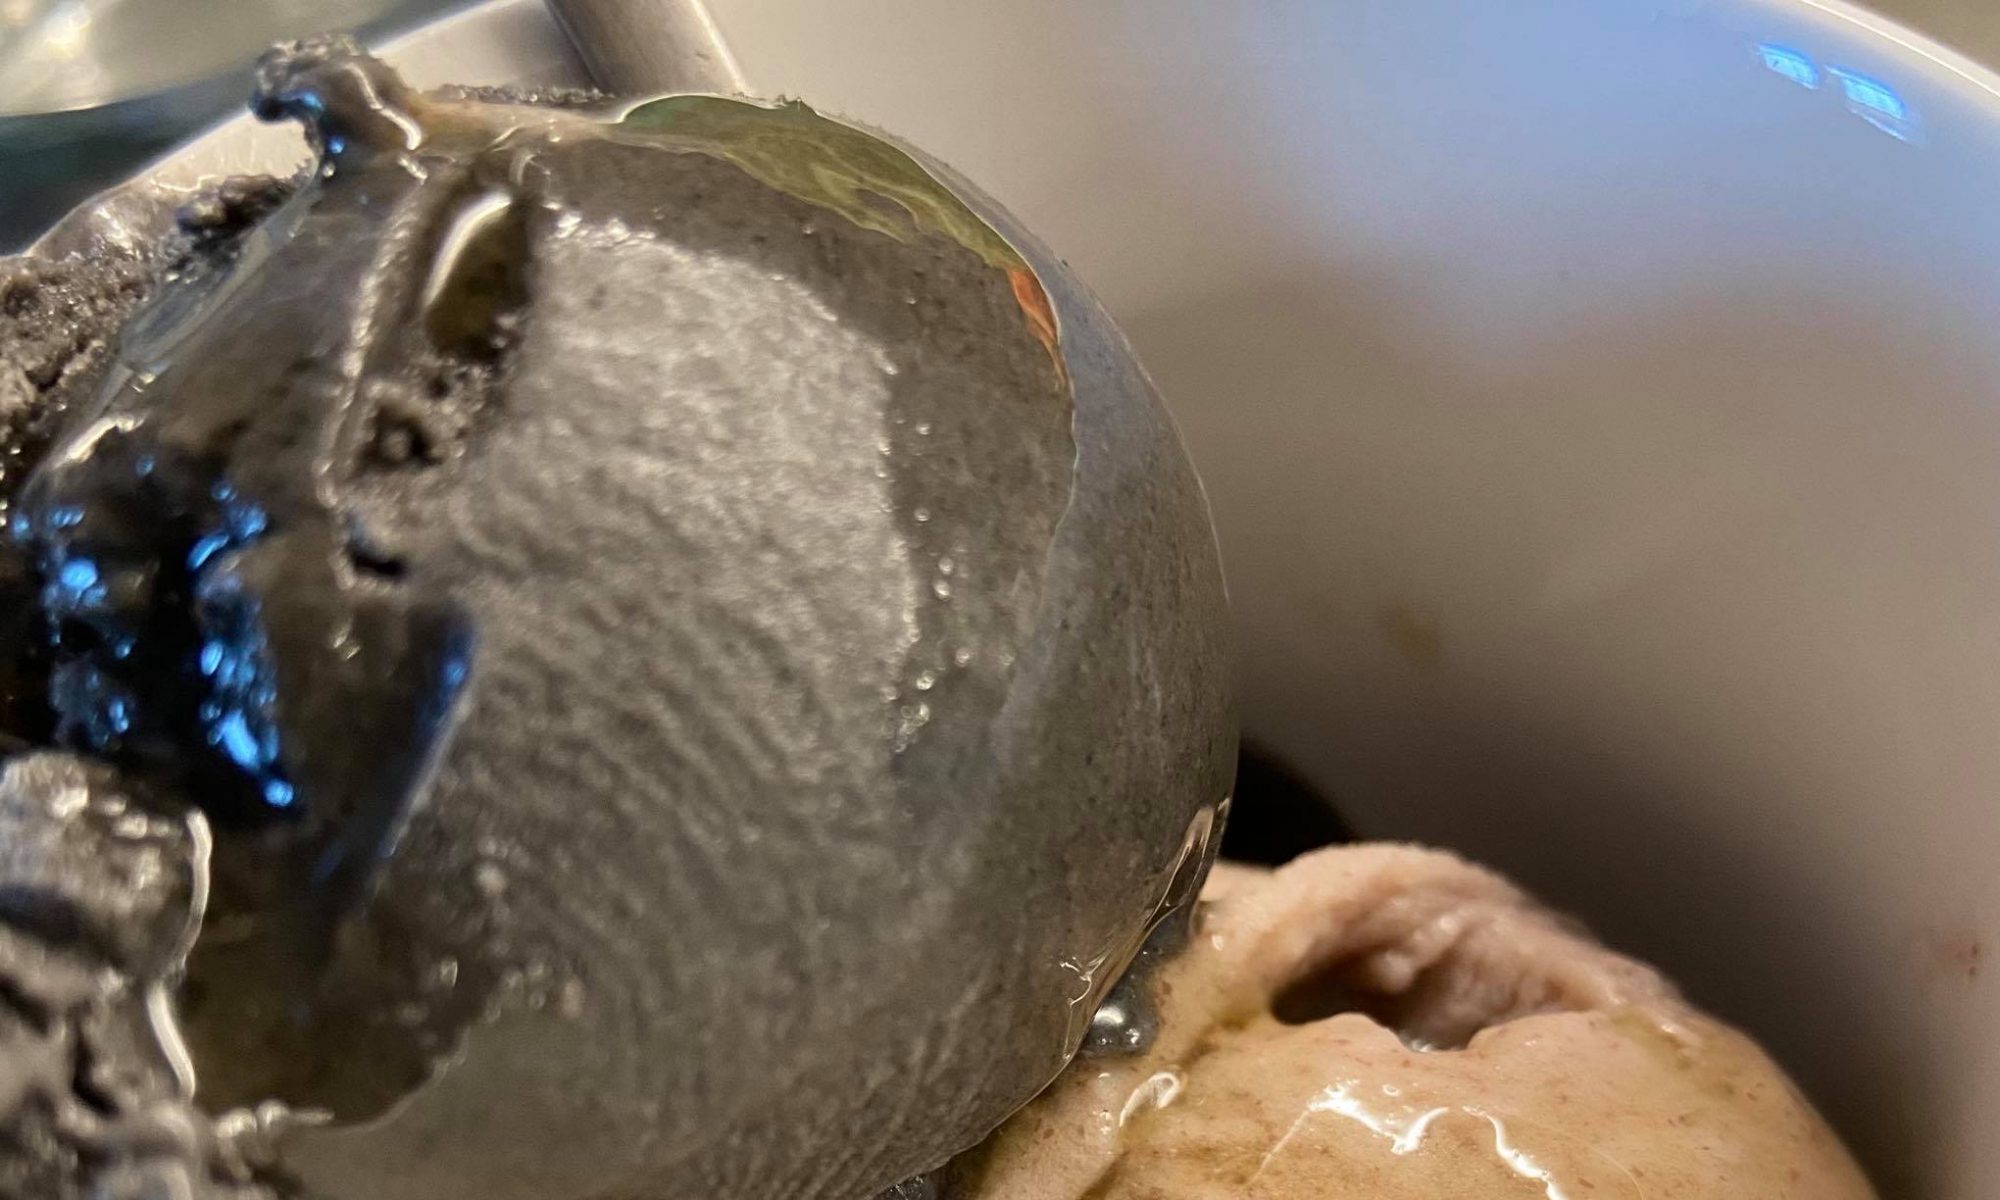
Choco-Miso ice cream

For this water-based ice cream I used dark chocolate (90% cocoa), cocoa powder (22-23% fats) and a bit of miso to increase intensity and complexity. My husband declared it ‘best chocolate ever’ 🙂

water477g
dark chocolate (90% cocoa mass)100g
sucrose80g
dextrose40g
cocoa powder (23% fat)20g
miso30g
fsc+xanthan 9:13g

Mix together sucrose, dextrose and the thickeners. In a small pan containing the measured water, bring the chocolate, cocoa powder and miso to ca. 50°C and then add the solids, mixing well with an immersion blender. Bring to a about 80°C to homogenise all the thickeners and switch the heating off. Cool the mixture down rapidly by placing it in a ice-water bath, still blending, then let it rest for a few hours, blending from time to time to ensure it stays smooth. Churn, then transfer to the freezer for a couple of hours.

Note – my ice creams are designed to be consumed immediately or kept in a somewhat warmer freezer (-10°C). If you wish to store them at the normal -18°C freezer temperature, they will become harder than usual (most ice creams will go hard in a deep freezer, it’s normal, nothing wrong with it!). To limit this inconvenience, you can bring the percentage of sugars (sucrose and dextrose) up to a total of approximately 22% keeping the same sucrose/dextrose ratio and decrease the liquid or the fibers to keep the same mixture total weight.

For example, in this recipe you would use 98g sucrose, 49g dextrose and measure 451g water, leaving the rest unchanged.

Peanut butter ice cream

For this water-based ice cream I used cashew, peanut butter, sugar and dextrose. It came our really smooth and I think it’s my best peanut butter ice cream so far.

water485g
100% peanut paste80g
toasted cashew paste60g
sucrose80g
dextrose40g
salt3g
fsc+xanthan 9:13g

Mix together sucrose, dextrose, salt and the thickeners. Bring water to ca. 50°C and add the solids, mixing well with an immersion blender. Bring to a boil to homogenise all the thickeners and switch the heating off. Let it cool to ca 70°C then pour onto the nut pastes and blend thoroughly again. Cool the mixture down rapidly by placing it in a ice-water bath, still blending, then let it rest for a few hours. Churn, then transfer to the freezer for a couple of hours.

Note – my ice creams are designed to be consumed immediately or kept in a somewhat warmer freezer (-10°C). If you wish to store them at the normal -18°C freezer temperature, they will become harder than usual (most ice creams will go hard in a deep freezer, it’s normal, nothing wrong with it!). To limit this inconvenience, you can bring the percentage of sugars (sucrose and dextrose) up to a total of approximately 22% keeping the same sucrose/dextrose ratio and decrease the liquid or the fibers to keep the same mixture total weight.

For example in this ice cream, you would use 98g of sucrose, 49g dextrose and 458g water, leaving the rest unchanged.